
I bought the controller itself off of EBay. I bought a plug at Lowe's, and had some electrical wire laying around from past conquests. I went to Radio Shack and bought a small project box, and had a screwdriver, wire cutters, drill, and a zip saw laying around. The whole project took about 2 hours start to finish. If you are a little handier than I am, it might not take as long. Let's get started...

Here is a picture of the wiring diagram I used, courtesy of android on homebrewtalk.com. It's not as intimidating as it looks, as you will see in a few minutes.

Here are the base components all layed out on my bench. I figured at this point the best place to start was by putting the plug on the wire, because I was still nervous about how chopping up the project box with my zip saw was going to go, and wanted to put it off as long as possible...

This step is pretty straight forward. Strip the black and white wires, screw them in to the post, and connect the ground.

Place the cover over the plug and screw into place. Now the easy part is over, and I have that project box and my zip saw staring at me from across the bench.

My first cut. It's not pretty, I know, but it doesn't have to be. The best advice I can give you here is to trace the back of the controller with a sharpie and make the cuts. You will inevitably have to take it out in a few spots to get it to fit right. Take care not to go out too much so that it is way loose.

After cutting the hole on the other side for the plug and taking the ends off so it would fit in the box, I had to break the bridge on the hot side. The reason is that I am going to have the top plug powered by the heat element of the controller, and the bottom plug powered by the cooling element of the controller. You don't have to do that on the other side, however, just the hot side. It will make more sense in a few pictures.

Here is a picture of the box with the temperature controller in it and a hole cut out for the outlet. You can also see the crazy diagram I am trying to figure out on the small piece of paper next to the box.

This is pretty much the same shot from a different side. you can see on the back of the controller where the wires will hook up. From left to right you have the main power, thermometer, heat, and cool.
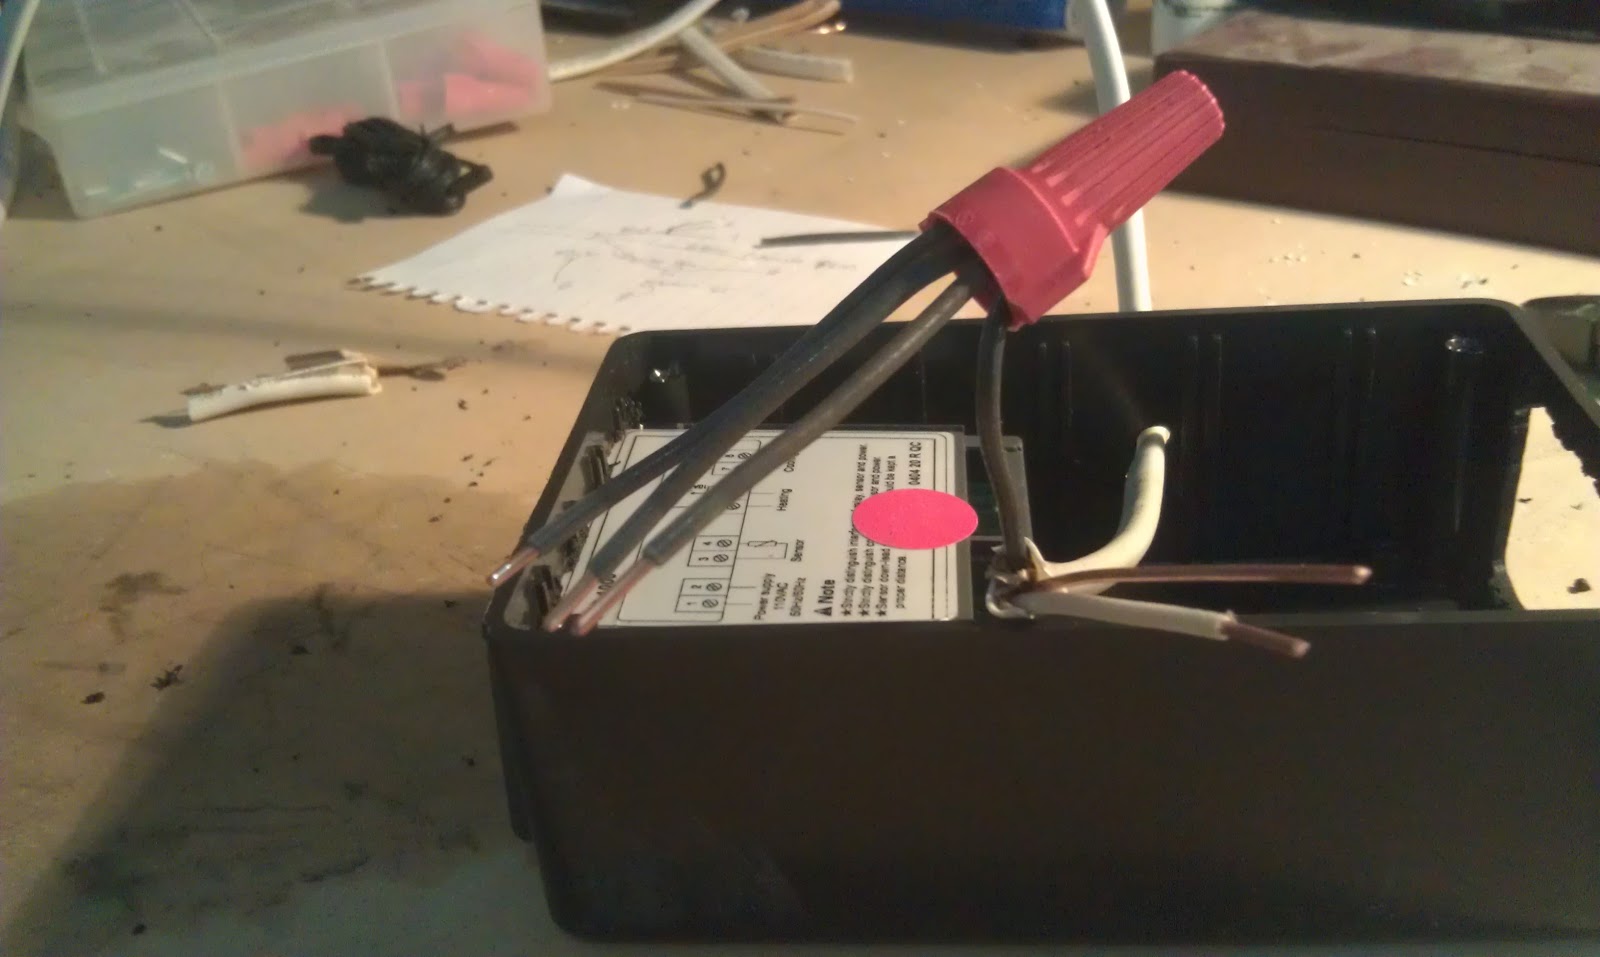
This is where it starts to get fun. I grouped the main hot in with 3 other short wires. One will go to the main power, one to the heating element, and one to the cooling element on the back of the controller. Soon you will see why I had to break the bridge on the hot side of the outlet.

Here you can see that I have all 3 hot wires in their respective places. You can also see that I have 2 small hot wires and a return wire cut off to the side. One goes from the heating element of the controller to top of the plug, and the other goes from the cooling element of the controller to the bottom plug. This is why I had to break the bridge. The white one will go from the controller to the return side of the plug, and the white wire will also be hooked up to the return side of the plug to complete the circuit.

I threw this pic in to stress the point that it is never a bad idea to make sure you hook up the ground wire. In fact, most professional electricians would use the word "Mandatory".

Now that all the wires are where they need to be, the only thing left to do is to plug in the temperature probe and close up the box. Well, and plug it in to see if it works...

Seems to be working fine to me. I know my last several batches are the best I have ever made. Maybe there is something to the theory that controlled fermentation makes better beer.
Hey, nice post. This is what I'm trying to do but I want to hook up the sensor to a receptacle so I can plug in my boiler or my fridge or any element into the box. I have the tools and know a little electrics but figuring out the wiring for SSR and PIDs is a little above my pay grade. Why don't you need a relay on in your box? Can you help out? I made a drawing (although not real circuit annotation), if you know how to hook up the elements. If you can help feel free to edit or comment on the drawing. Happy Homebrewing!
ReplyDeletehttps://docs.google.com/drawings/d/14NcTpSKeryPxtJcon0LMz1rTwUYvqdgoPTz4MV4il_w/edit
Looks Great! What did you plugin for your heat source inside the freezer?
ReplyDeleteI'm wondering the same question, Greg. What was used for the heat source?
ReplyDelete150W★110V CERAMIC HEAT EMITTER BROODER INFRARED LAMP BULB REPTILE PET COOP ($12)
ReplyDeleteOr just a 75 to 100watt light bulb. I don't know much about brew yet but I woud think "LIGHT" might affect the brewing??? any thoughts.
Hi BK, nice job showing how you did your controller. I know you just had the Romex wire lying around, but a heavy (#12 gauge) flexible cord would be better, right? that way you frig could be moved a bit easier. I will be using a 12' length of cord and "tinning" the striped ends to connect to the plug and controller. Where did you get the "outlet diagram" (web link?). Thanks, I finally started making mine yesterday. I used a dremel tool with a disk cutting wheel. It worked nice (except the the disks broke twice) Oh well! way did you cut the screw tabs off the outlet. I noticed that you inserted the outlet from behind, not from the front? I left the tabs on and screwed it to the face of the work box. Happy, tasty brewing to you all.
ReplyDelete